
Introduction
Units are the foundation of your property management operations in Accez.Cloud. Whether you’re managing long-term residential rentals or short-term vacation properties, our platform makes unit creation and management straightforward and efficient. This guide covers everything you need to know about setting up and managing your units.
Prerequisites
Before creating units, ensure you have:
- An existing property in Accez.Cloud (Learn how to create properties)
- Active resident accounts (required for long-term units)
Understanding Unit Types
Accez.Cloud supports two types of units:
Long-Term Units: Designed for traditional residential rentals with lease agreements, tenant assignments, and extended stay periods.
Short-Term Units: Perfect for vacation rentals, temporary stays, and flexible booking arrangements.
Step 1: Access Unit Creation
From your dashboard, click on your property card to enter the property details section. Select the “Units” header from the navigation menu. If you haven’t created any units yet, you’ll see an option to add your first unit.
Click the “Add Your First Unit” button to begin.
Step 2: Choose Your Unit Type
A new page will appear with the option to create either a short-term or long-term unit. By default, long-term unit is selected. For this guide, we’ll focus on creating a long-term unit.
Important Note: Long-term units require an active resident to be assigned. Make sure you have resident accounts created before proceeding.
Step 3: Fill in General Unit Information
Complete the following sections:
Basic Information:
- Unit number or name
- Unit type (apartment, studio, etc.)
- Square footage
- Number of bedrooms and bathrooms
Property Details and Amenities:
- List all amenities included (parking, balcony, appliances, etc.)
- Special features
- Pet policies
- Furnishing status
Availability Status:
- Available
- Occupied
- Under maintenance
Step 4: Configure Ownership and Tenant Information
This critical section requires:
Ownership Type:
- Owned by Company
- Privately Owned
Tenant Assignment:
- Select the resident who will occupy the unit
- Enter the rental price you’ll charge the resident
Lease Duration:
- Start date of the lease
- End date of the lease
- This determines how long the resident can stay in the unit
Step 5: Add Additional Information and Images
Complete any optional additional information that provides context about the unit. This section can be skipped if not necessary.
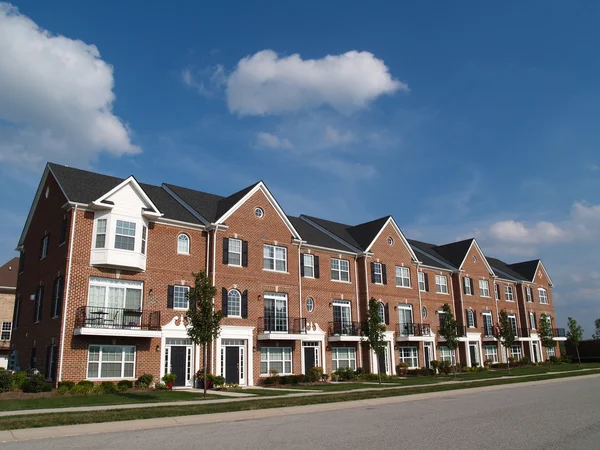
Upload high-quality images of the unit showing:
- Living spaces
- Kitchen and bathrooms
- Special features
- Views
Step 6: Save Your Unit
After filling in all required information, click the “Save” button. Your long-term unit is now successfully created and will appear in your units list.
Managing Existing Units
Viewing Unit Details
Click on the three-dot icon next to any unit and select “View” to see complete unit information. You can scroll through all the details you’ve entered and verify everything is correct.
Editing Units
If you need to update any information:
- Click the “Edit” button while viewing unit details
- Make your changes (e.g., update availability status, change pricing, modify amenities)
- Click “Save” to apply your updates
The system will immediately reflect your changes.
Watch the Full Video Tutorial
See the complete unit creation process in action:
Key Takeaways
✅ Long-term units require active resident accounts for tenant assignment
✅ Ownership type affects how the unit is managed and reported
✅ Lease duration is critical for tracking occupancy and renewals
✅ Detailed amenity lists help attract quality tenants
✅ Units can be edited and updated at any time
✅ Availability status helps track unit occupancy in real-time
Best Practices for Unit Management
Keep Information Updated: Regularly review and update unit details, especially availability status and pricing.
Use High-Quality Images: Professional photos significantly improve unit appeal and can reduce vacancy times.
Detailed Amenity Lists: Comprehensive amenity information helps residents make informed decisions.
Regular Maintenance Tracking: Use availability status to track units under maintenance or renovation.
Next Steps
With your units created, you’re ready to:
- Set up work order management for maintenance requests
- Configure services and amenities for resident bookings
- Connect distribution channels for short-term units