
Introduction
Starting with property management in Accez.Cloud is simple and straightforward. Whether you’re managing a single property or an entire portfolio, our platform makes it easy to create, publish, and maintain your property listings. In this guide, we’ll walk you through every step of the property creation process.
What You’ll Learn
- How to create a new property from scratch
- Adding essential property details
- Uploading property images and location data
- Publishing your property to make it live
- Editing and updating property information
Step 1: Navigate to the Properties Page
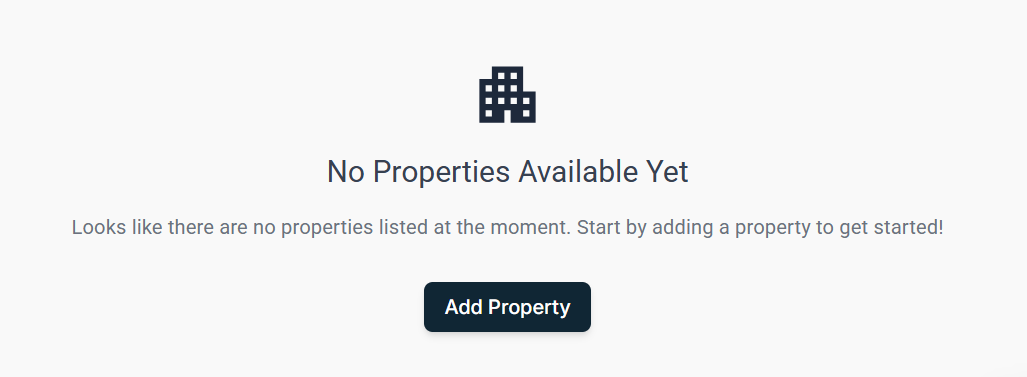
Begin by logging into your Accez.Cloud property manager portal. From your dashboard, navigate to the Properties section. If you’re just getting started, you’ll see an empty properties page ready for your first listing.
Step 2: Create Your First Property
Click on the “Add Property” button to begin the creation process. A form will appear where you’ll enter your property’s basic information:
- Property Name: Give your property a clear, identifiable name
- Total Number of Units: Specify how many units are available in this property
- Number of Floors: Enter the total floors in the building
Once you’ve filled in these essential details, click the “Submit” button to create your property.
Step 3: Add Property Details and Images
After creation, your property will be in draft status. Click on the property card to access the property details section. Here you’ll:
- Upload Property Images: Choose high-quality photos that showcase your property’s best features
- Add Address Information: Enter the complete address including street, city, state, and postal code
- Include Additional Details: Add any other relevant information about the property
Step 4: Publish Your Property
Once you’ve completed all the necessary information, it’s time to make your property live. Click the “Publish Property” button. Your property will now be active and visible in your property management system.
You can verify the publication by clicking on the property card and navigating to the property overview section.
Step 5: Edit and Update Properties
Need to make changes? No problem! Navigate back to your properties list and select the property you want to edit. You can:
- Update property images
- Modify address information
- Change property details
- Update availability status
After making your changes, click the submit button to save your updates.
Watch the Full Video Tutorial
For a visual walkthrough of the entire property creation process, watch our complete video tutorial:
Key Takeaways
✅ Properties start in draft status and must be published to go live
✅ High-quality images improve property presentation
✅ Complete address information is essential for property management
✅ Properties can be edited and updated at any time
✅ The property card provides quick access to all property details
Next Steps
Now that you’ve created your property, you’re ready to add units! Check out our guide on How to Create and Manage Units to continue building your property portfolio.